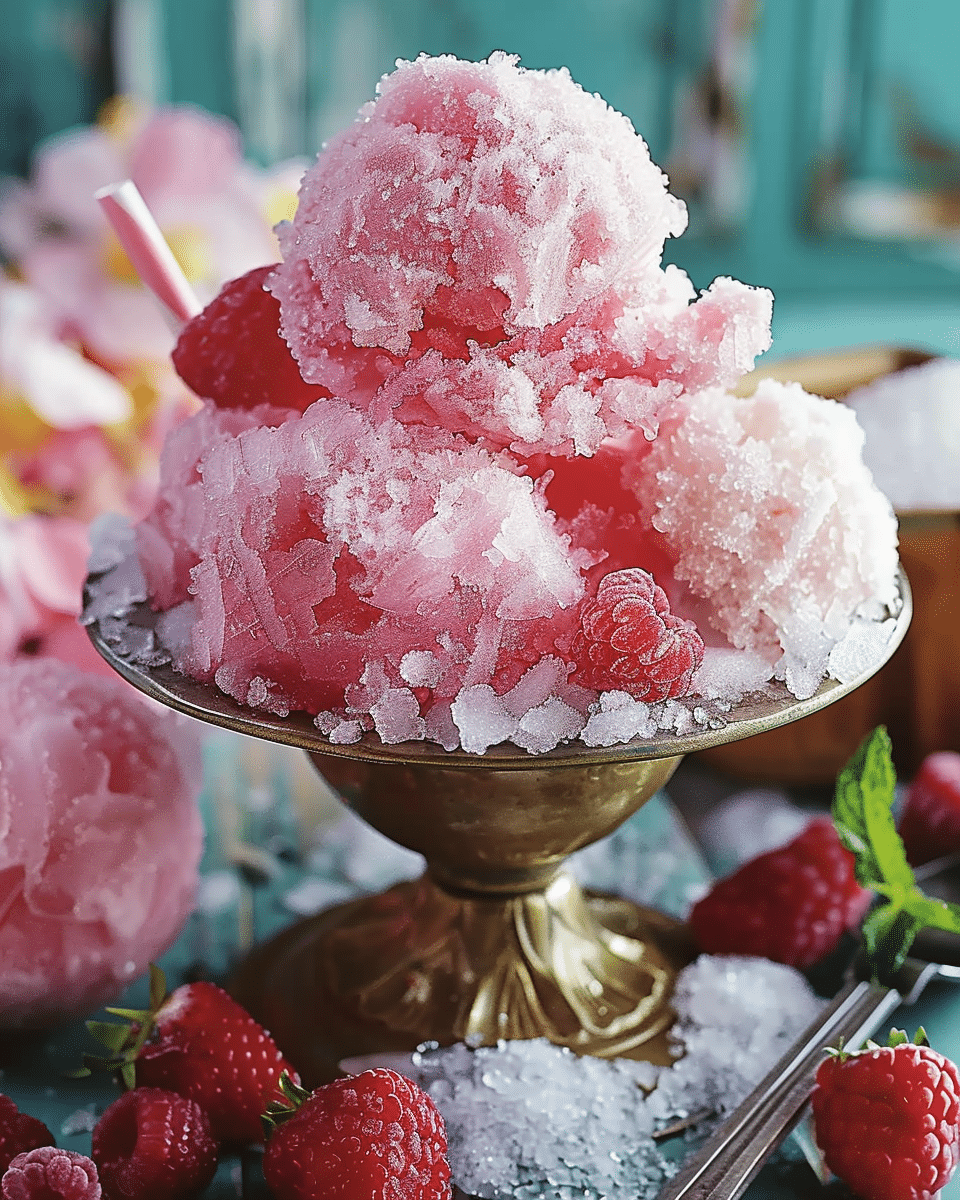
Why You’ll Love This Recipe
This snow cone recipe is quick, easy, and incredibly versatile. You can tailor the flavor to whatever you like—whether it’s classic cherry, tangy lime, or sweet blueberry. Making your own syrup means you control the sweetness and can even add fresh fruit for a natural twist. Plus, it’s a fun treat that’s perfect for hot days, parties, or just a refreshing snack anytime.
Ingredients
– Crushed ice (for snow cones)
– 1 cup granulated sugar
– 1 cup water
– 1 cup flavored syrup (e.g., cherry, blueberry, lime)
– Optional: Fresh fruit slices for garnish
– Optional: Condensed milk for drizzling
(Tip: You’ll find the full list of ingredients and measurements in the recipe card below.)
Directions
- Prepare the Ice: Use a snow cone machine or blender to crush the ice into a fine, snow-like consistency.
- Make the Syrup: In a small saucepan, combine granulated sugar and water. Heat over medium heat, stirring until the sugar completely dissolves.
- Add Flavoring: Stir in your chosen flavored syrup or fruit juice into the sugar syrup and let it cool to room temperature.
- Fill the Cups: Spoon the crushed ice into paper cones or cups, packing it down gently.
- Drizzle Syrup: Generously pour the flavored syrup over the crushed ice until well coated.
- Optional Toppings: Add fresh fruit slices or drizzle condensed milk over the top for extra flavor and creaminess.
- Serve Immediately: Enjoy your snow cones right away for the best texture and taste.
Servings and Timing
- Prep Time: 15 minutes
- Cook Time: 10 minutes
- Total Time: 25 minutes
- Servings: Makes about 4 snow cones (depending on cup size)
Variations
- Use different flavored syrups such as watermelon, mango, or grape for variety.
- Substitute granulated sugar with honey or agave syrup for a different sweetness profile.
- Add a splash of fresh lemon or lime juice to the syrup for a tangy twist.
- Try blending fresh fruit with the syrup for a natural, pulpy texture.
Storage/Reheating
Snow cones are best enjoyed immediately since the ice will melt quickly. If you want to prepare the syrup in advance, store it in an airtight container in the refrigerator for up to 1 week. The crushed ice cannot be stored as it will lose its texture, so it’s best to crush ice just before serving.
FAQs
What kind of ice should I use for snow cones?
Crushed ice or shaved ice works best because it absorbs the syrup well and has a soft, fluffy texture.
Can I make snow cones without a snow cone machine?
Yes! You can crush ice using a blender, food processor, or by placing ice cubes in a sealed bag and crushing them with a rolling pin.
How do I make flavored syrup at home?
Combine sugar and water in equal parts, heat until sugar dissolves, then add fruit juice or flavored extracts before cooling.
Can I use natural fruit juice instead of syrup?
Yes, but natural juices are often less sweet and may need some added sugar or honey to balance the taste.
How long can I keep the syrup?
Store syrup in the fridge in a sealed container for up to one week.
Can I add toppings to snow cones?
Definitely! Fresh fruit slices, condensed milk, or even sprinkles can add flavor and texture.
Can I make this recipe vegan?
Yes, just skip the condensed milk or use a plant-based alternative.
What is the best way to serve snow cones?
Serve immediately in paper cones or cups for easy handling and a classic experience.
How many calories are in a snow cone?
Calories vary depending on syrup and toppings but typically about 120 calories per serving.
Conclusion
This snow cone recipe is a simple, fun way to enjoy a classic summer treat at home. With customizable flavors and quick preparation, it’s perfect for cooling off on hot days or entertaining guests. Try experimenting with different syrups and toppings to make your ultimate snow cone creation!
Print
Snow Cones: The Amazing Ultimate Recipe for Summer Delight
- Total Time: 25 minutes
- Yield: About 4 snow cones
- Diet: Vegetarian
Description
Snow cones are a refreshing, icy treat perfect for summer, made with finely crushed ice and flavorful homemade syrup. Customize with your favorite syrup flavors and toppings for a cool, delicious delight.
Ingredients
Crushed ice (enough for 4 snow cones)
1 cup granulated sugar
1 cup water
1 cup flavored syrup (e.g., cherry, blueberry, lime)
Optional: Fresh fruit slices for garnish
Optional: Condensed milk for drizzling
Instructions
- Prepare the Ice: Use a snow cone machine or blender to crush the ice into a fine, snow-like consistency.
- Make the Syrup: In a small saucepan, combine granulated sugar and water. Heat over medium heat, stirring until the sugar completely dissolves.
- Add Flavoring: Stir in your chosen flavored syrup or fruit juice into the sugar syrup and let it cool to room temperature.
- Fill the Cups: Spoon the crushed ice into paper cones or cups, packing it down gently.
- Drizzle Syrup: Generously pour the flavored syrup over the crushed ice until well coated.
- Optional Toppings: Add fresh fruit slices or drizzle condensed milk over the top for extra flavor and creaminess.
- Serve Immediately: Enjoy your snow cones right away for the best texture and taste.
Notes
Use crushed or shaved ice for the best texture and syrup absorption.
Syrup can be stored refrigerated for up to 1 week in an airtight container.
Crush ice just before serving to maintain the snow-like consistency.
Customize syrup flavors with fresh fruit juices or extracts.
Skip condensed milk or use a plant-based alternative for a vegan version.
Adding alcohol to syrup creates an adult version; serve responsibly.
Snow cones are best served immediately to prevent melting.
- Prep Time: 15 minutes
- Cook Time: 10 minutes
- Category: Dessert
- Method: Crushing ice and syrup preparation
- Cuisine: American
Nutrition
- Serving Size: 1 snow cone
- Calories: 120
- Sugar: 25g
- Sodium: 5mg
- Fat: 0g
- Saturated Fat: 0g
- Unsaturated Fat: 0g
- Trans Fat: 0g
- Carbohydrates: 30g
- Fiber: 0g
- Protein: 0g
- Cholesterol: 0mg


